The pipe testing unit PRO80HY is used for the testing of the pipe inner diameters.
Task:
Steel pipes that are used in injection systems of diesel engines has to be tested after production regarding any deviation to the inner diameter.
Until now this test was performed manually with plastic testing pieces. If the testing piece didn´t fit through the pipe, the inner diameter was too small. In this case the pipe didn´t pass the quality assurance.
The disadvantage of this method was the very high manual effort and the fact that sometimes remained plastic pieces in the pipes were overlooked and lead to problems in the later applications, e.g to clogging or to complete failure of the diesel supply of the engine.
With the PRO80HY a new testing method was developed that offers the possibility to pump and pulsate a defined amount of corrosion protection oil through the pipe. During this pulsating/ testing process the amount of oil and the pressure curve are measured and from these measurement results a value for the pipe inner diameter is derived.
The test result is compared afterwards to the values of a reference pipe adaptor (reference pipe with the smallest permissible tolerance and reference pipe with maximum permissible tolerance).
The results are registered, graphically presented as “good/bad ” result and forwarded to the master PLC. The master PLC is sorting the pipes in “good and bad” pipes.
Unit concept:
The pipe testing unit PRO80HY is firmly integrated in the pipe production plant unit.
The superior PLC moves after the releasing of the sample, one pipe end into the specimen adaption (collet) of the test bench (PRO80HY). The insertion speed is signaled by, in the specimen adaption existing, proximity switches.
As soon as the necessary insertion depth is reached, after a signal from the master PLC “pipe placed” the testing process starts with the closing of the specimen adaption (collet) and the test is performed. Oil that runs out at the end of the pipe is discharged and will be recycled.
With the signal “pipegood” or “pipebad” from the PRO80HY to the master PLC the test is finished and the collet will be opened to get the specimen out – the results will be evaluated.
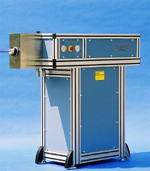
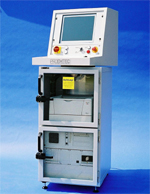
The pipe testing unit PRO80HY consists of an control unit and a pneumatic/ hydraulic unit with specimen adaptor.
The pneumatic/ hydraulic unit is directly integrated in the production line.
The control unit with measurement, PC, printer and keypad is placed in a 19″ cabinet with rotating operation desk/ monitor.
Software:
In the testing unit operation a micro-controller is integrated that is handling the communication with a PC via RS232 interface.
The software – written in © LAB-VIEW – provides the PRO80HY as a “virtual instrument” to the other program modules.

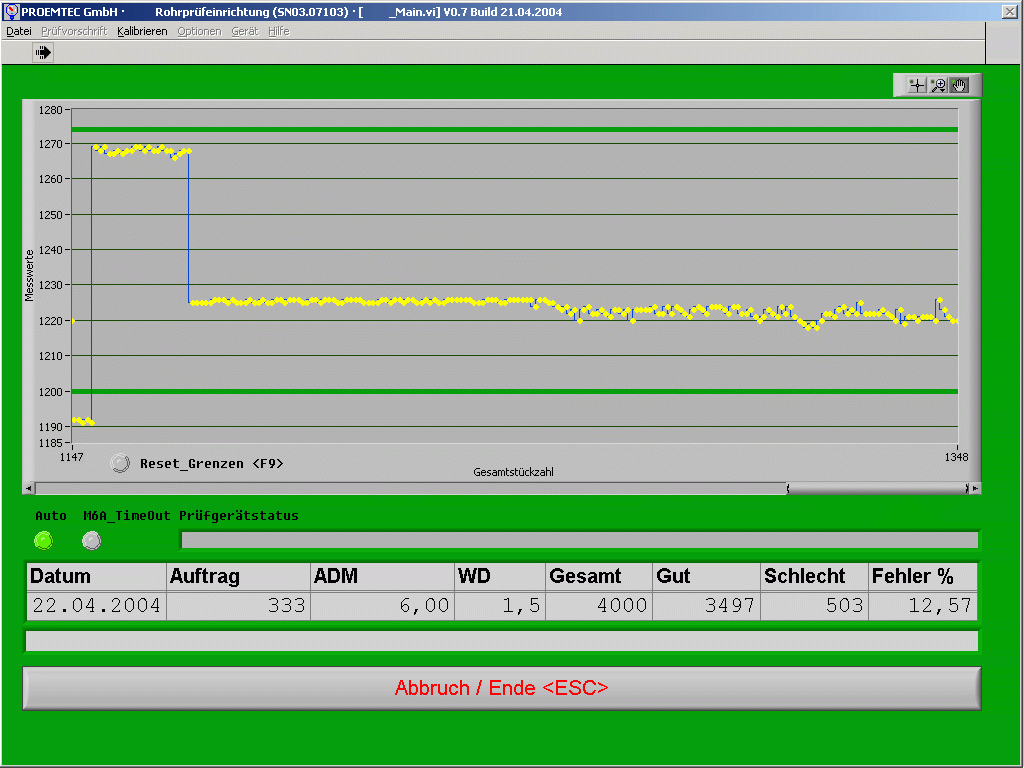
The screen shot shows the set parameters for pipe outside diameter (6 mm) and the pipe wall thickness (2 mm) and the test results in the graphics. The shown blue upper and lower limit lines correspond to the reference pipe adaption for a pipe with smallest and highest approved tolerance. The number of tested pipes and the number of errors is recorded and the results are stored in a © MS-Access-Database.
Calibration and service functions of the PRO80HY are performed by the software or with a terminal program via interface, e.g. the linearization of the reference pressure transducer.
Summary:
- Measuring range: 0 to 80 bar
- Reference pressure sensor: with characteristic curves linearization:
system failure: <0,05% of full scale - Pipe diameter detection:
- Pipe outside diameter variable due to the collet adaption: ø 6 to 12mm
- Testing time/ duration: appr. 8 seconds
- Pipe length: 3 to 8m
- Detection accuracy: appr. 0.01 mm
- Medium: Hydraulic oil or corrosion protection oil
- Ventilation: additional test oil pump
Feel free to contact us for further information!

